
4/8/2026 Welcome to Intense Arcade
Hi Folks! I'm Rickey Horwitz and this is my new website that focuses on Virtual Pinball Hardware. I'm still working on my point of sale system, but in the meantime I going to discuss my plans with this website. My primary goal is to make this business self-sustaining or as a monetized hobby. To that end, I am offering finished products starting with fully assembled Virtual Pinball Machines, ranging from a 24" table top cabinet to 32" stand alone system. I am shying away from larger cabinets as this market is very crowded and I don't have a large enough shop to build them. I am also offering VP interface and driver boards of various sizes which I have been building and selling for almost 3 years now. Most of my designs are open-source so anyone can use them or modify them and make it their own, including my competitors. If you would like to see my contributions, see https://github.com/rmhorwitz. Besides offering Interface and driver boards I have a large selection of Ball Shooters, all made here in the USA.
Looking into the future, I am working on an air blower, 3-tone chime assembly (Gottlieb style), a 4" shell bell, knocker, and a shaker motor. Future looks bright. Stay tuned!
4/18/2026 WIP at Intense Arcade
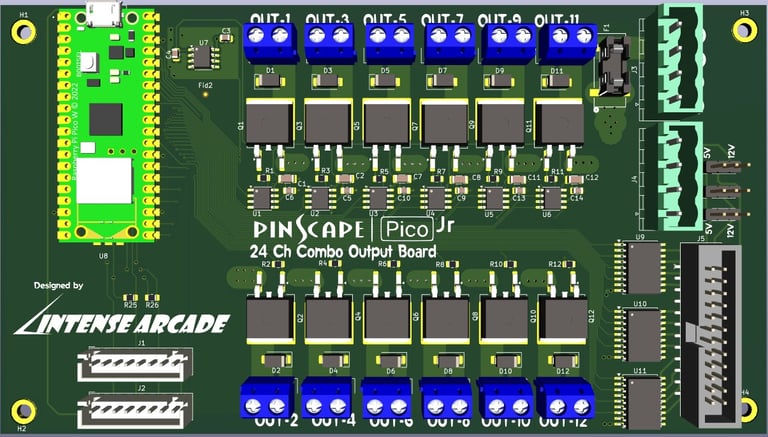
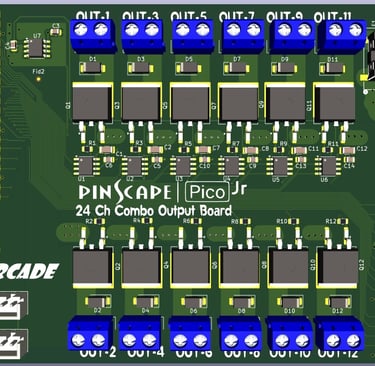
I have been developing a few new products to add to my growing portfolio. My first ongoing project is a Picosystem 24 channel expansion board that has 12 high-power MOSFET outputs and 12 LED driver outputs. I'm throwing this against the wall to see if it sticks.
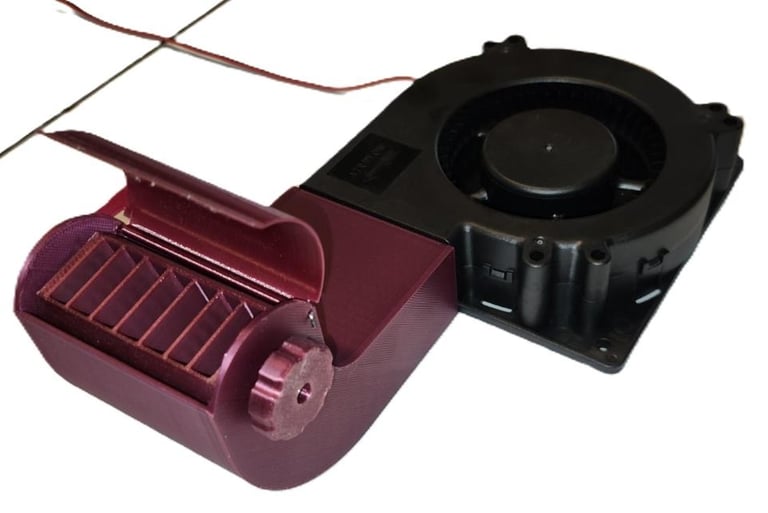
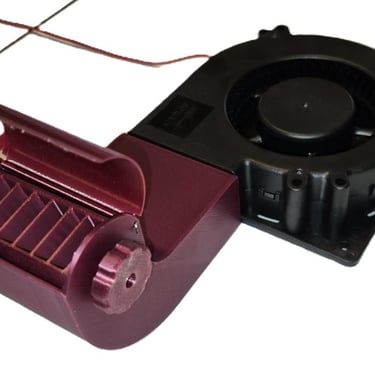
Next, I am working on a compact air blower that interacts with tables like Whirlwind or Walking Dead. These 'toys' are generally placed on top of a cabinet's back box. In other implementations the fan or blower is placed inside the main cabinet and a duct is used to bring the forced air out of the bottom front of the cabinet (under the coin box), where the air blows upward into the player's face. I went with the later implementation, but I am placing the blower on the bottom outside of the cabinet instead of inside. This saves me from making a needless hole in the cabinet.
I am also using a small pancake centrifugal blower vs a ducted, axial fan. The ducted fan produces 125 CFM of air flow, my pancake blower is only rated for 45 CFM. This might appear as an egregious underspecification, but CFM (Cubic Feet per Minute) is a measurement of volume of air. It is Static Pressure that is needed to push air through a ducted vent with two 90 degree turns. A ducted axial fan or plain axial fan (as used on all pinball applications) is great for pushing high volumes of air through an open space, but they produce little static pressure, hence much of the CFM is lost. That is why your home HVAC or your car's heater both use centrifugal fans/blowers. Centrifugal fans create pressure to push air through a vent, ducted axial fans do not.
The first approximation of Fluid Dynamics is that CFM is analogous to electrical current, and static pressure is analogous to voltage. Imagine a duct with an elbow or vent. These each act as physical obstacles that impede the flow of air, much like a resistor impedes current flow in an electrical circuit. When air is restricted, it builds velocity (speed). This speed is dependent on both static pressure and CFM.
So while my humble pancake fan produces a measly 45 CFM, it can produce a lot of static pressure that eventually leads to a small, but strong stream of directed air to the face. This blower is cheaper and less obtrusive than other applications. My blower project uses an adjustable vent that focuses the stream of air and an automatic vent cover that opens and closes when the fan blower is toggled on and off. The system cost less than a typical DIY project and it will not require drilling a huge hole in the cabinet . I have these blower kits for $45 (with blower too). Folks that rather build their own can use my free plans at https://github.com/rmhorwitz/Pinball-Blower-Toy
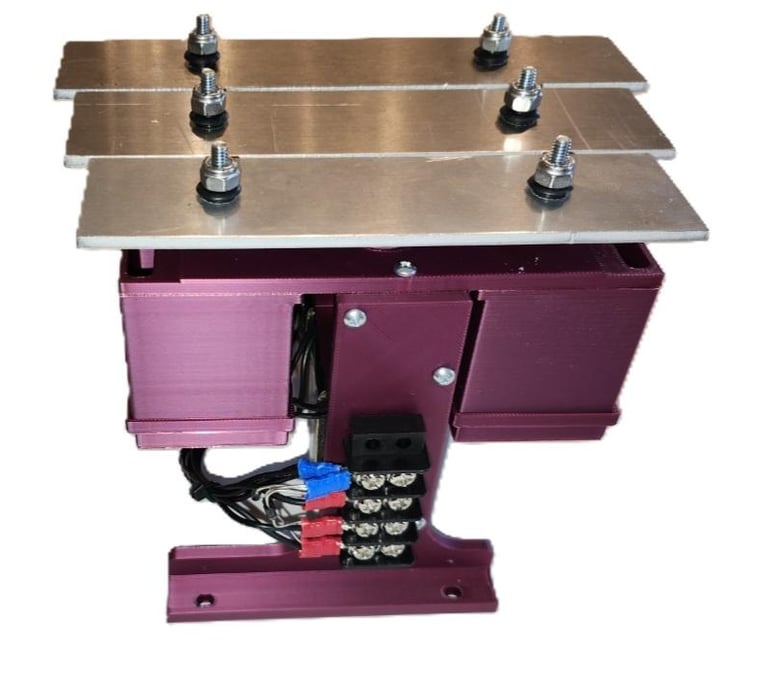
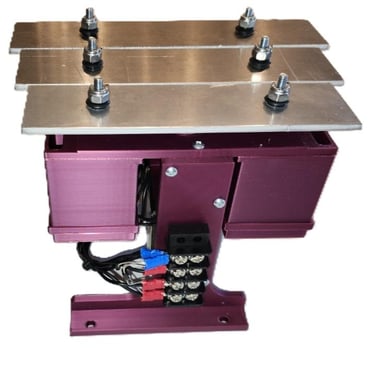
Last, is my chime system. I saw a post on VPforums about a generic DIY 3-chime system (Bally inspired). It got the wheels turning in my head. First, the system did not have a tuned resonator, just a cavity for amplifying sound and I couldn't help myself to make that observation. MJR opined, and showed us an example of the Gottlieb chime resonator that had three tuned cavities for superior sound. 2nd, the cost was overwhelming. To purchased the raw materials, would cost way over $95. So I went to work designing my own 3-chime unit using the Gottlieb system as my baseline. I ordered three chime bars and grommets from Marco Specialties, this set me back over $45. Next were the solenoid actuators. Each solenoid along with a metal slug was $21 each. Go do the math! This project was getting very expensive. I took another approach and fabricated my own chimes and generic solenoids from China, they were a fraction of the price. However, they did have one disadvantage, the slugs throw has an internal stop at both extreme, while the authentic solenoids do not have stops. This means when the solenoid is energized, the slug accelerates into the coil's magnetic field, causing it to overshoot slightly before gravity pulls back into the magnetic field. This overshoot allows the slug to hit the chime momentarily before it is pulled back into the magnetic field. Consequently, I had to come up with a creative solution; I would use a secondary metal slug, that is launched upward by the solenoid slug. The acceleration of this 2nd slug exceeds the throw of the solenoid slug, allowing to briefly strike the chime before gravity pulls it back down onto the solenoid slug. Complicated, yet cheap and extremely effective. Next, was 2nd guessing the design intent of the Gottlieb chime design. This was nerve racking! It appears the design engineer created the system around a standard Helmholtz resonator. However, it is obvious that the designer turned towards more of an empirical approach, as some calculations were off significantly. Sometimes a scientific approach does not produce the best results. Since the Gottlieb chime system is the best sounding of the big three of the era (Bally, Gottlieb, and WIlliams), I almost left good enough alone. I instead added two resonators for better harmonics. I am still ironing out details, but I have a working prototype shown below. The tentative price is set at $85 for the finished unit. For those that want to build their own, I have the resonator on my Github page along with specs on building each or the three chimes.
support@intensearcade.com
© 2026. All rights reserved.